
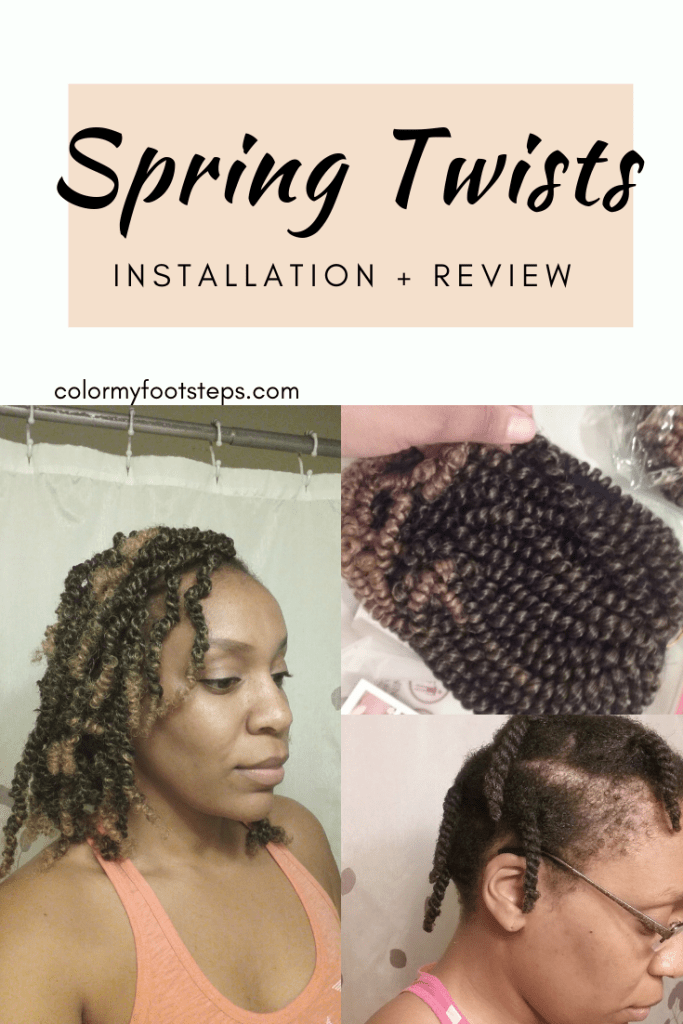
One of the latest protective style trends are spring twists. I’ve been eyeballing this style on Instagram and Pinterest for some time. I’ve seen the twists long, medium, and short in length. After watching several YouTube influencers publish videos about how to install the twists, I decided to try the style.
This is a quick post stating the installation process I chose, the hair I chose, the preparation of my natural hair, and what I think of the style.
Hair Purchased
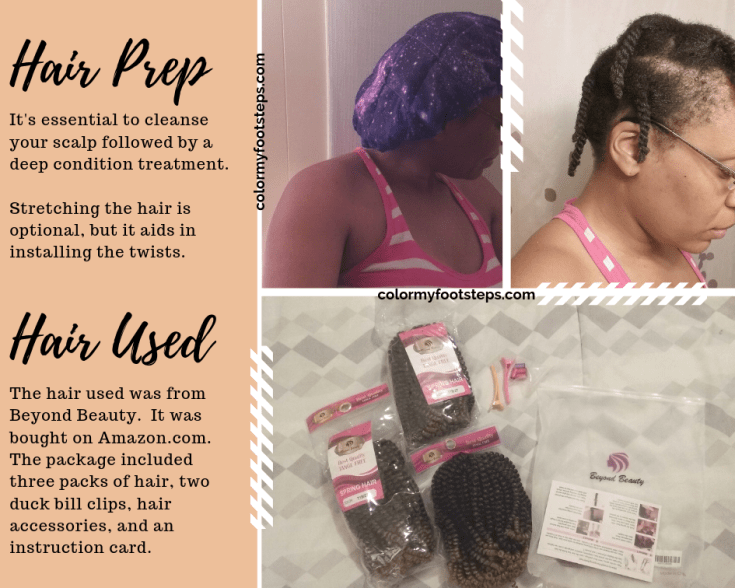
The hair that I purchased was the 3 Pack Spring Twist Ombre Colors Crochet Braids Synthetic Braiding Hair Extensions, in the color T1B27, from the brand Beyond Beauty. The hair was inexpensive, in my opinion, for hair. This is the first time I’ve purchased hair online. I was a little worried before it arrived. However, the hair was just like the hair I would purchase in my local beauty supply store. The packaging included three bundles of spring twist hair, two small duck clips, decorative hair accessories, and a simple installation guide card. The hair was soft, non-fuzzy, and had no odor.
Preparation
I believe in cleaning the scalp and deep conditioning before installing a protective style. The night before installation I shampooed my hair, focusing on the scalp, with Cantu Shea Butter for Natural Hair Cleansing Cream Shampoo. I followed up the shampoo with a deep condition using a combination of Cantu Shea Butter for Natural Hair Hydrating Cream Conditioner, Jamaican black castor oil, and coconut oil. I placed a heated bonnet on my hair and left it on for 30 minutes. When rinsing out the deep conditioner I detangled with a wide tooth comb.
After the washing and conditioning process, I sectioned my hair, applied Kinky-Curly Knot Today Leave-In Conditioner, and then twisted my hair. Before I finished, I took my shears and trimmed any frizzy and frayed ends.
Side Note: I typically co-wash any extensions or weaves I buy to ensure there aren’t any lingering chemicals on the hair. This can help reduce an itchy scalp. However, due to time constraints I was unable to do that this time.
Installation
This wasn’t the first time I’ve installed twists of some sort. I find that starting my twists with a braid and then converting it into a twist works best for me. This allows for less possibility of the extension slipping out. I think it also makes the style look cleaner at the root. One thing the Youtube influencers I watched said was to make sure to wrap the twists in the natural direction they came in.
I used a water spray bottle and more Kinky-Curly Knot today Leave-In conditioner to make sure my hair was moisturized (you can never have too much moisture for 4c hair). Then I applied a small amount of Eco Style Black Castor and Flaxseed Oil styling gel. Then I cut the extension twist in half (for my desired short length). Lastly I installed the hair. Due to the curl pattern of the extensions, no sealant was needed at the ends of the twists. The entire installation took me approximately 4.5 hours. My twists were shoulder length and small/medium in width. I used 1.5 packs of hair (due to me cutting each individual twist in half for my desired length).
Outcome
Initially I was dreading installing the twists in my hair, because of the time I thought it would take. However, I am so glad that I went through with it. The time spent installing was not long. The hair is very light weight. The color is perfect for the summer ahead. I would definitely try this style again.
